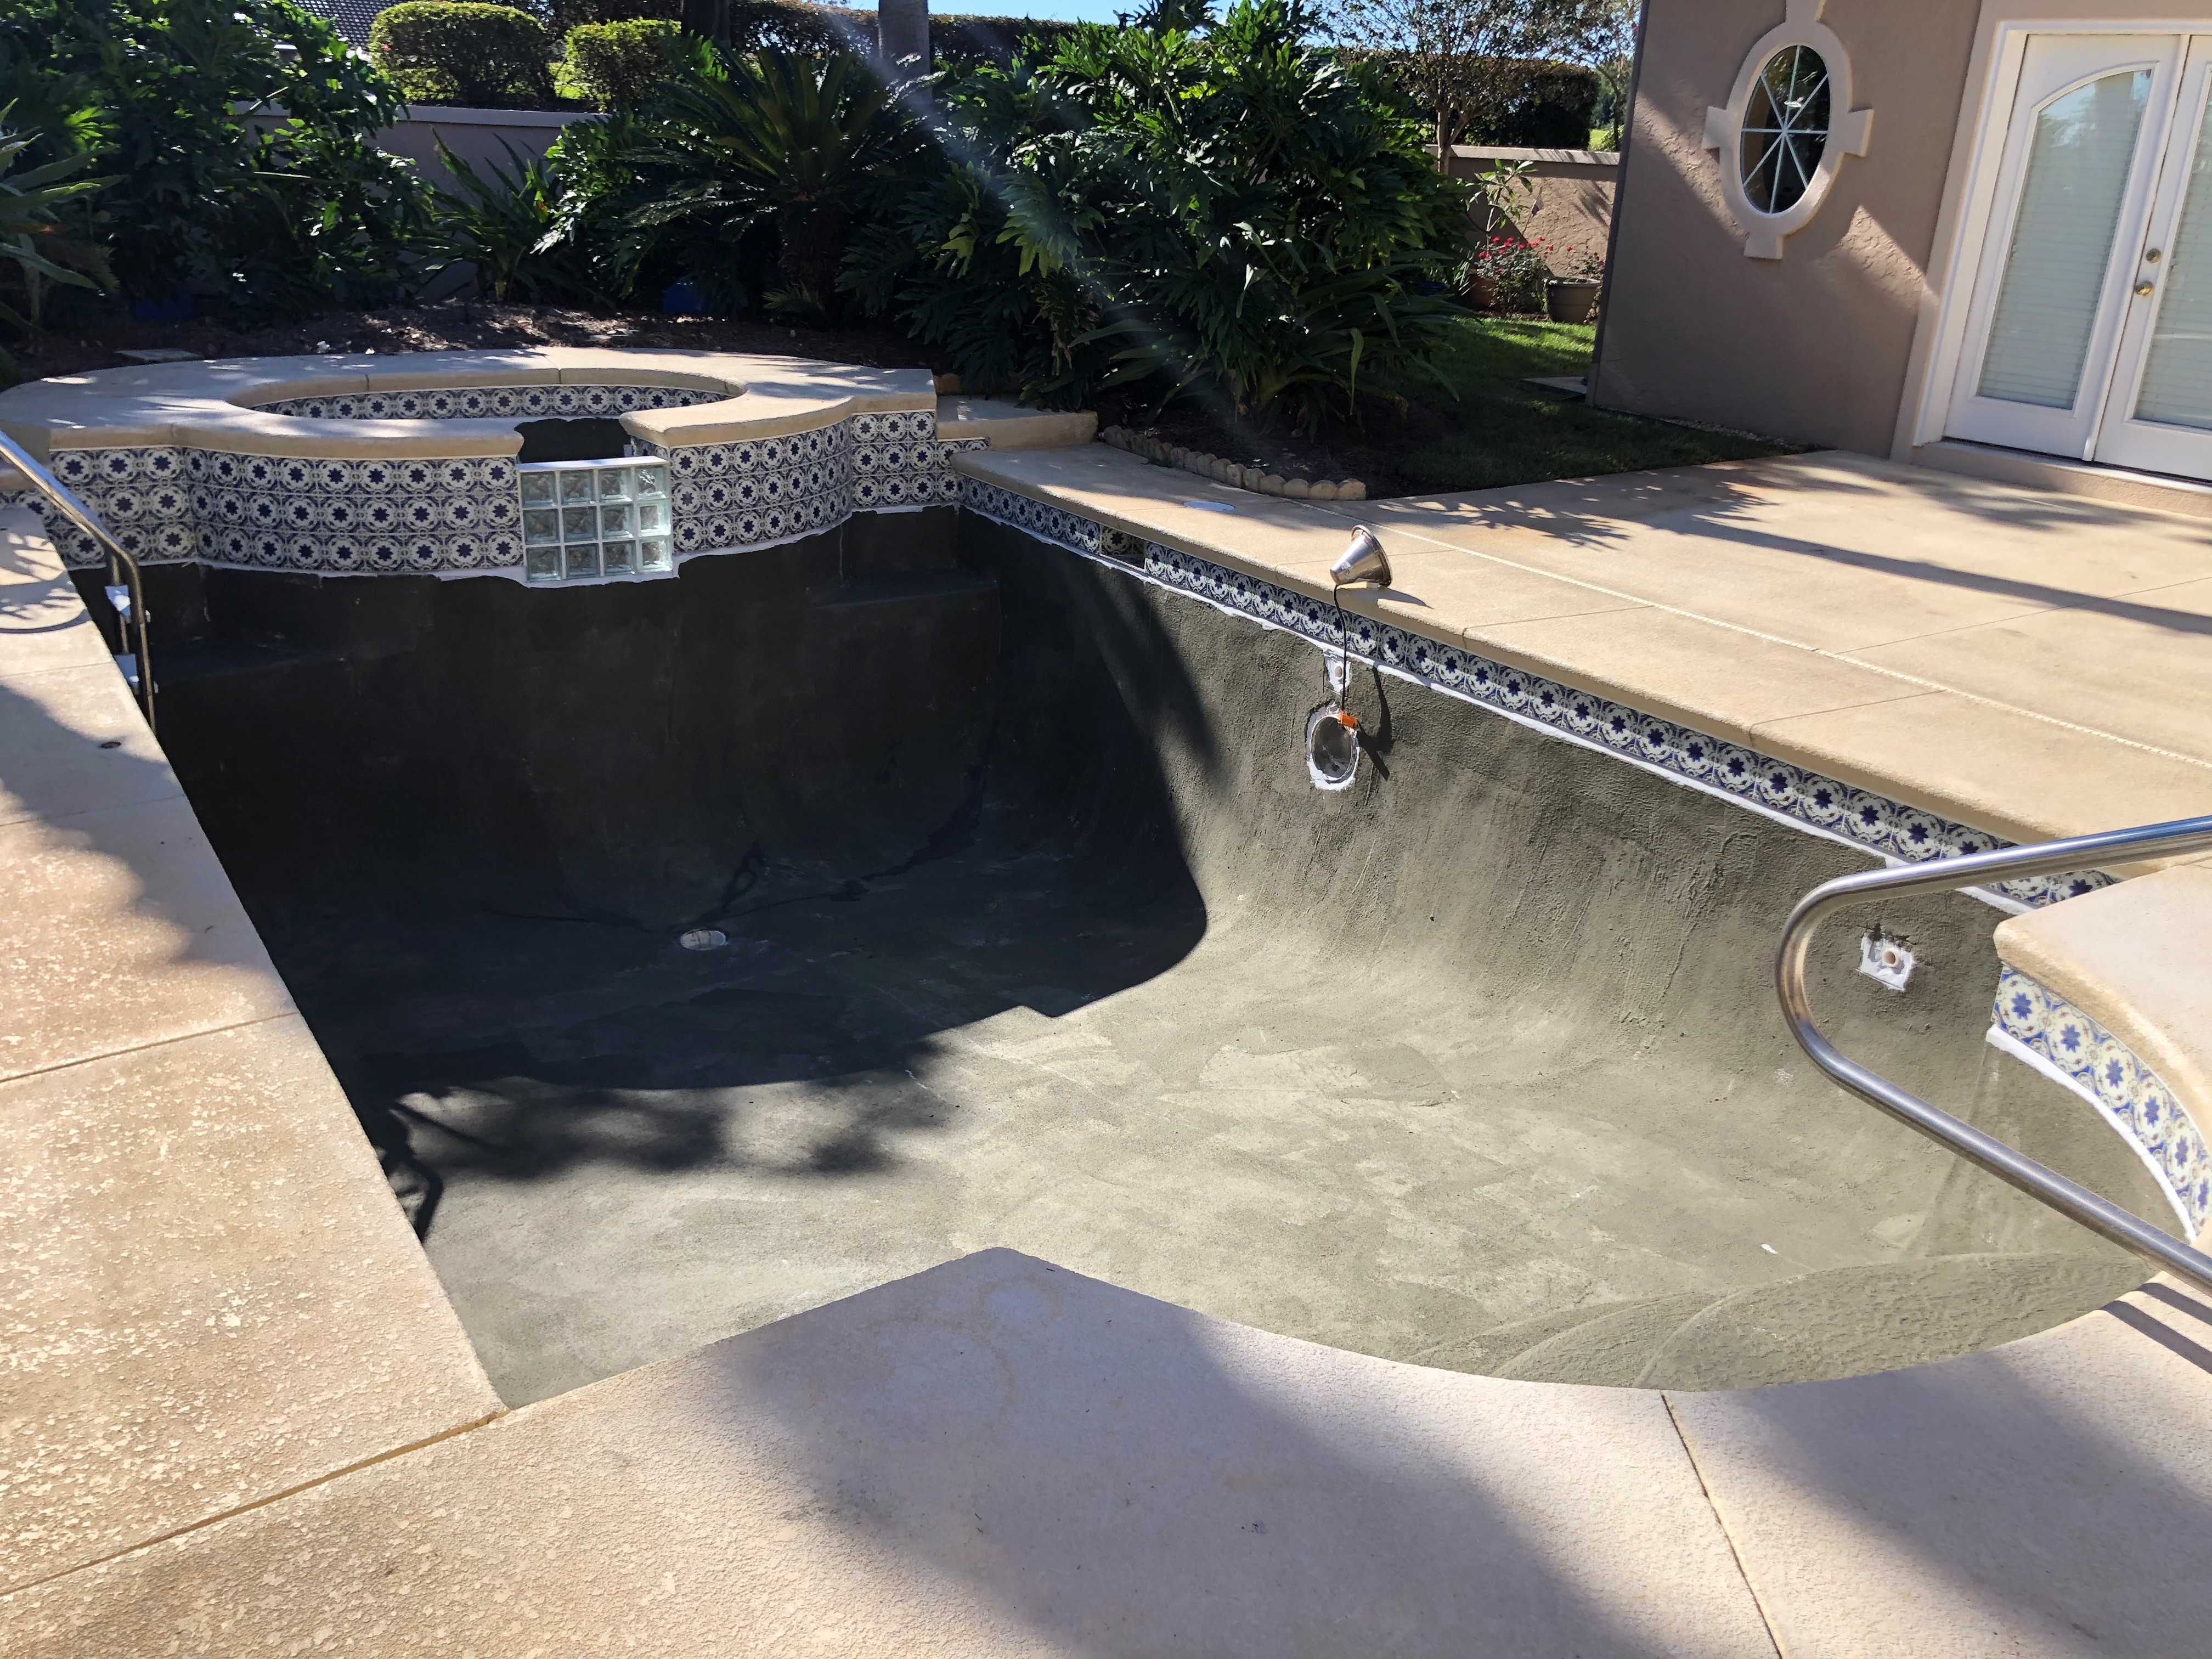
When it comes to resurfacing gunite swimming pools, most homeowner’s ask a few common questions: What does this process look like? What can I expect? What would be some issues that could occur during the renovation?
Below you will find answers to those questions and more in our “10 Step Guide” to this process:
Step 1 – Turn Off All Pool Equipment
- The first step will be to turn off all pool equipment by shutting off the associated breakers. This will ensure your equipment will not operate during the renovation, which could result in damage to the equipment.
Step 2 – Drain the Pool
- The second step will be draining the pool. Prior to draining the pool, a discussion will be made with the homeowner on where to best displace the pool water using pump and hose equipment. As the pool is drained, we will drill a hole in the floor at the shallow, middle, and deep end to ensure that a high water table will not force the pool to shift and allow any ground water to enter the pool. When the main drain is accessible, we will then pull the hydro-static valve, which is also allows any ground water into the pool.
Step 3 – Install De-Watering Pump
- The third step will be to install a de-watering pump. Depending on the height of your water table, a de-watering pump may need to be installed and plumbed into the hydro-static valve of the main drain to continually remove ground water from underneath the pool. The water table level can vary in different areas and even within the same area. Fluctuations in the water table level are caused by changes in precipitation between seasons and years. If installed, this pump should never be turned off at any time during the renovation process.
Step 4 – Pool Preparation
- The fourth step is the pool preparation. This step will be the most invasive part of a pool renovation in terms of creating dust and debris. A pool renovation can be a very messy process, but we will ensure a thorough cleaning at the end of the project. If you choose to install a new 6x6 or mosaic tile, we will remove all existing tile from the pool at this time and install the new tile. If you are keeping the existing tile, we will then undercut 1 ½ below your current tile. We will also cut around all fittings and lights in the pool, which will ensure there is no beveling in these areas, when the new finish is applied. We will also pressure wash and acid wash the pool interior, removing and checking for any delaminated plaster. If these areas are found, they will be cut out and removed. If we determine at that time, the prior layer of plaster is faulty and will need to be completely removed, we will then stop work and discuss a change order.
Step 5 – Bond Coat
- The fifth step will be to bond coat the pool surface. A bond coat is a polymeric bond agent applied to secure the new plaster to the old plaster.
Step 6 – Pool Finish Application
- The sixth step will be to apply the pebble or quartz finish you have selected. This finish is mixed on-site and applied by hand troweling. Pool finishes are applied and finished completely by hand, resulting in variations in color, shade, tone, texture and overall appearance of the pool finish. These variations are a featured characteristic of the “natural look” of exposed aggregate interior pool and spa finish.
Step 7 – Acid Wash
- The seventh step is to acid wash the plaster finish before filling to remove any excess residue or film and to assist in exposing the beauty of the finish.
Step 8 – Install New Fittings
- The eighth step will be to install new white goods, which would consist of return fittings, ladder bumpers, and main drain covers.
Step 9 – Clean-Up and Fill Pool
- The ninth step will be general clean-up of the job site and the filling of the pool. With direction from the homeowner on which hose bib to use, the client will be responsible for the water needed to fill the pool. Please contact your local water company as they may issue you a credit for a one time pool filling. The hose will be placed in the deep end for filling and must remain there until the floor is covered. If filled from the shallow end, it could cause water streaking on the plaster surface. Once pool filling begins, please allow the pool to continuously fill until the water level reaches the middle of your waterline tile, which we will request the homeowner to monitor and turn off. If the water is turned off during filling, and allowed to sit for a period of time, it could create a waterline ring.
Step 10 – Pool Start-up and Treatment
- The tenth and final step is the pool start-up and initial treatment. Once the homeowner notifies us the pool is full, we will send a maintenance technician out to start-up your pool equipment and begin the three day balancing and brushing process. At this time, the warranty certificate and proper maintenance instructions will be given to the homeowner.
ASP provides quality pool resurfacing and maintenance services, so please contact our office for current pricing.


